
It's the Simple Things
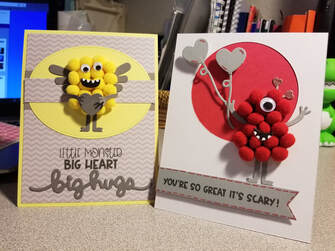
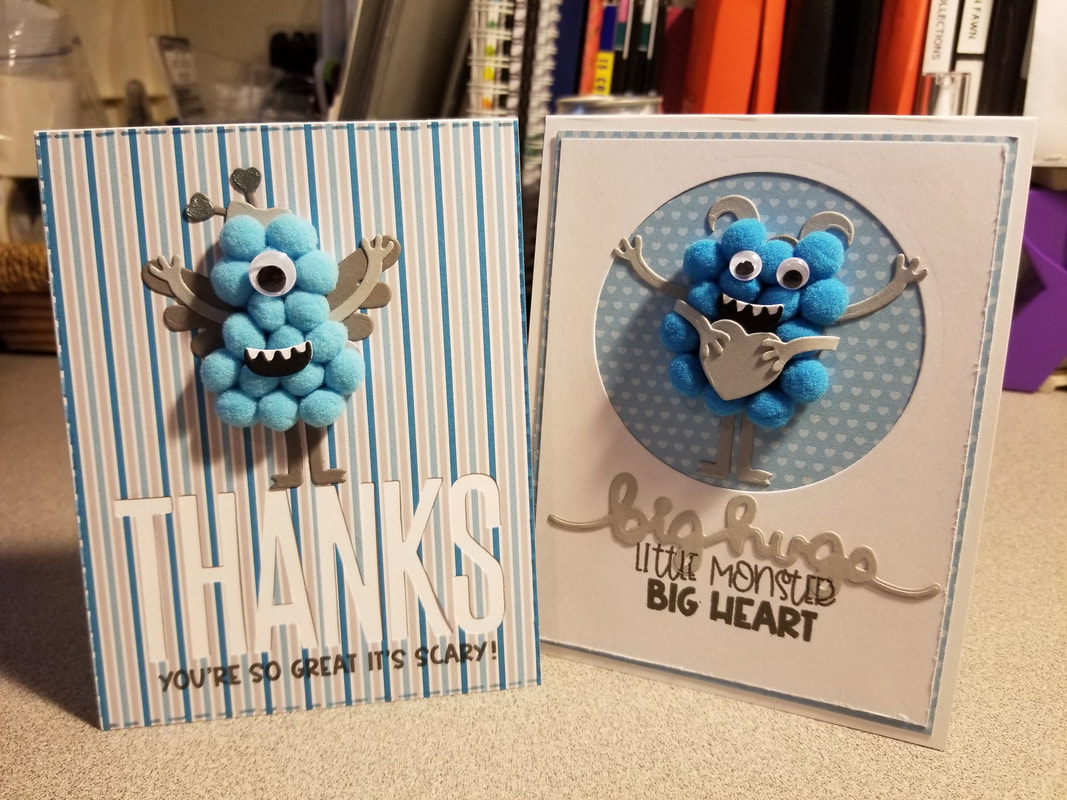
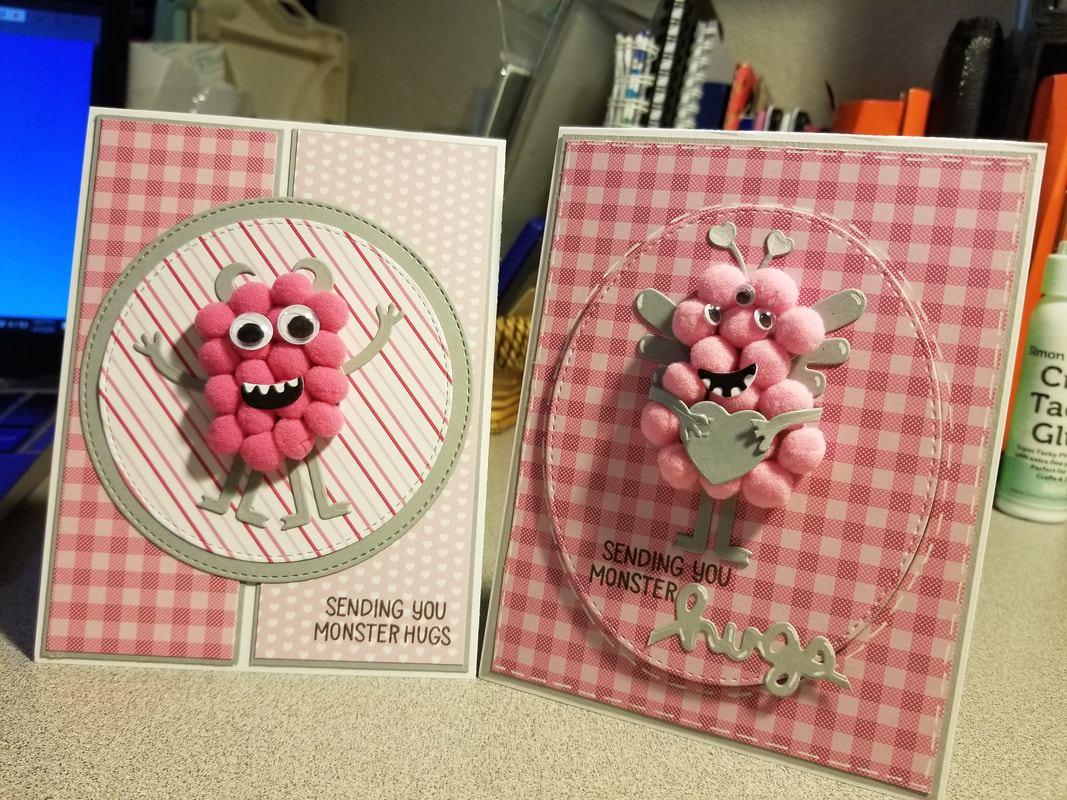
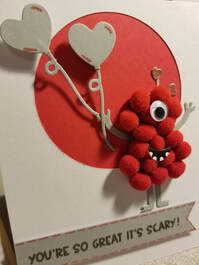 I recently ordered my very first Queen & Co. kit and let me tell you, I am in love it with. The Love Monster kit initially came out for Valentine's Day, but I did not get around to using it until this week. I mean, look at how cute this little monster is. The kit comes with a variety of dies to create little pom pom monsters; two different body shapes, horns, wings, legs, smiles, arms, a bow to be used as a hair bow or a bowtie, a heart balloon, and a heart for your monster to hold. I first cute out a bunch of the different parts and spent an hour just creating little monsters. It was so much fun. The kit also comes with pop poms, Gloobers (to glue the poms to the body base), enamel eyes, wiggle eyes, a stamp set of sentiments, and a 6X6 paper pad. I also bought a package of extra pom poms, which is nice because it came with additional colors and sizes. 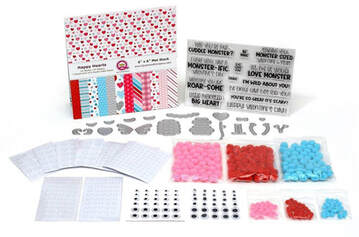 I made 6 cards in a little over two hours, and had a wonderful time creating. You can view the Queen & Co. Love Monster Idea Gallery on their website. I also used some circle & oval dies as well as the Big Thanks die from My Favoriate Things, and the Monster Mash Stamp set and Big Scripty Words die set both from Lawn Fawn. Enjoy my creations!
0 Comments
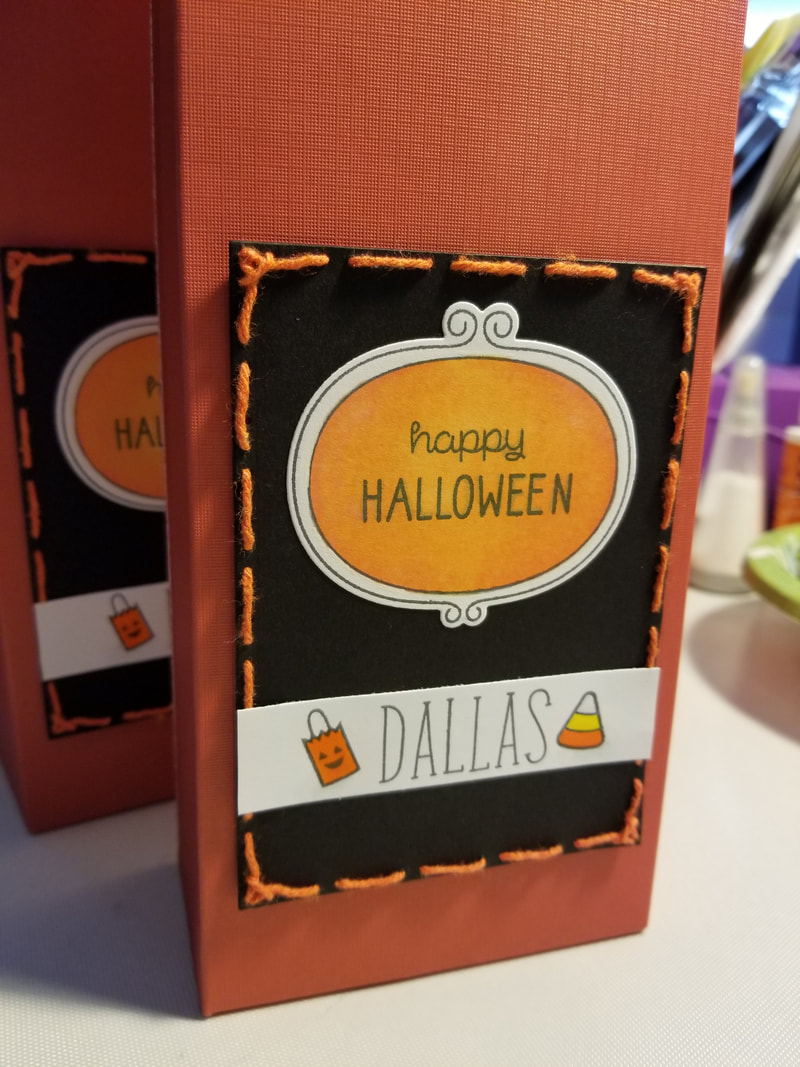
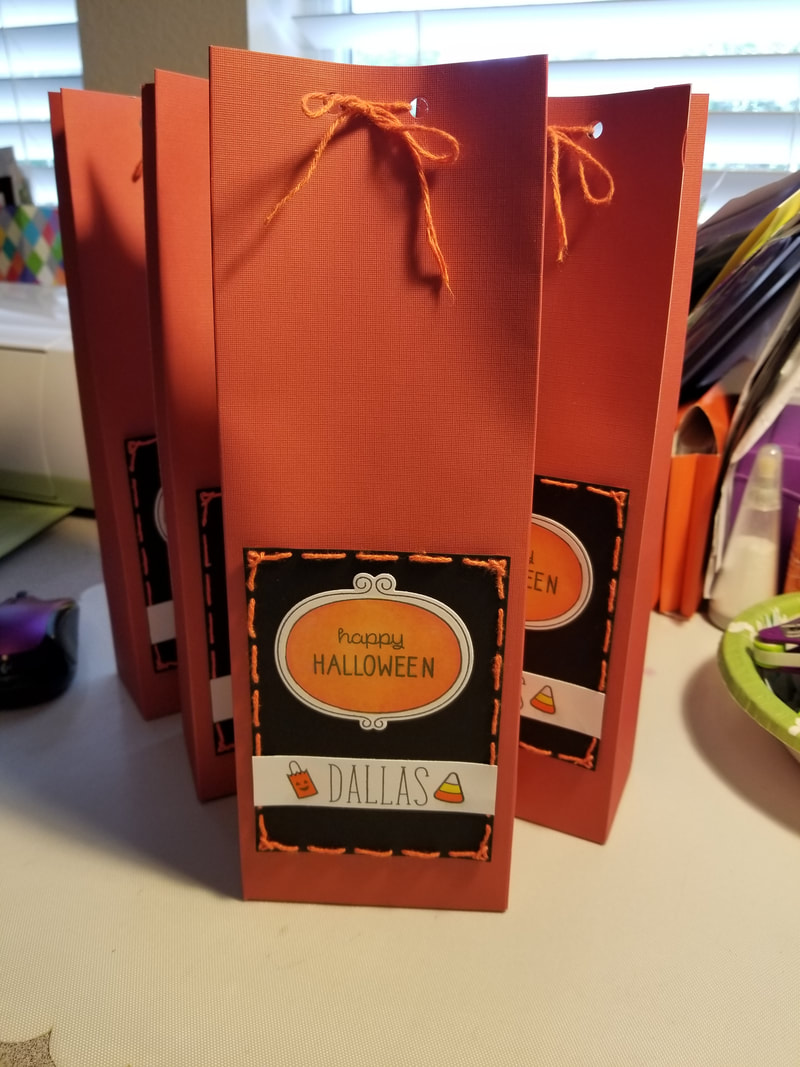
Each year, I make Halloween treat bags for my son and a few of his friends. I like giving gifts and Halloween is just another reason and way for me to spoil my son and the neighborhood kids that I love so much. This year, I have been a little short on time, but that is no excuse. I still found time to make clean and simple treat bags, which took me about an hour from start to finish to complete.
I made the bags using my We R Memory Keepers Gift Bag Punch Board. I start with a full sheet of 12 X 12 cardstock, which gives me a large, tall bag. Next I cut the black base for the front design using the Sizzix Dotted Rectangle dies. I got them from the Stamps of Life website, and I love them because it cuts out the rectangle with a series of small holes along the edges. I then used some Pumpkin twine from the Stamps of Life to sew around the edges, to give it a little more detail. The sewing is the part that took the longest, but was really easy since the holes were already punched.
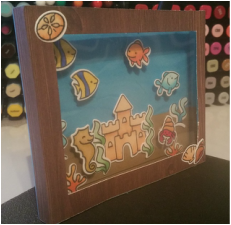
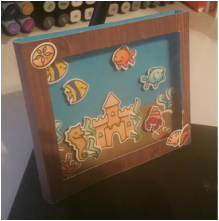
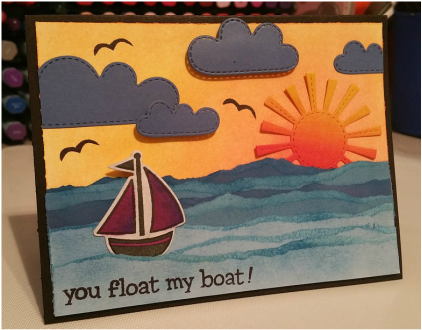
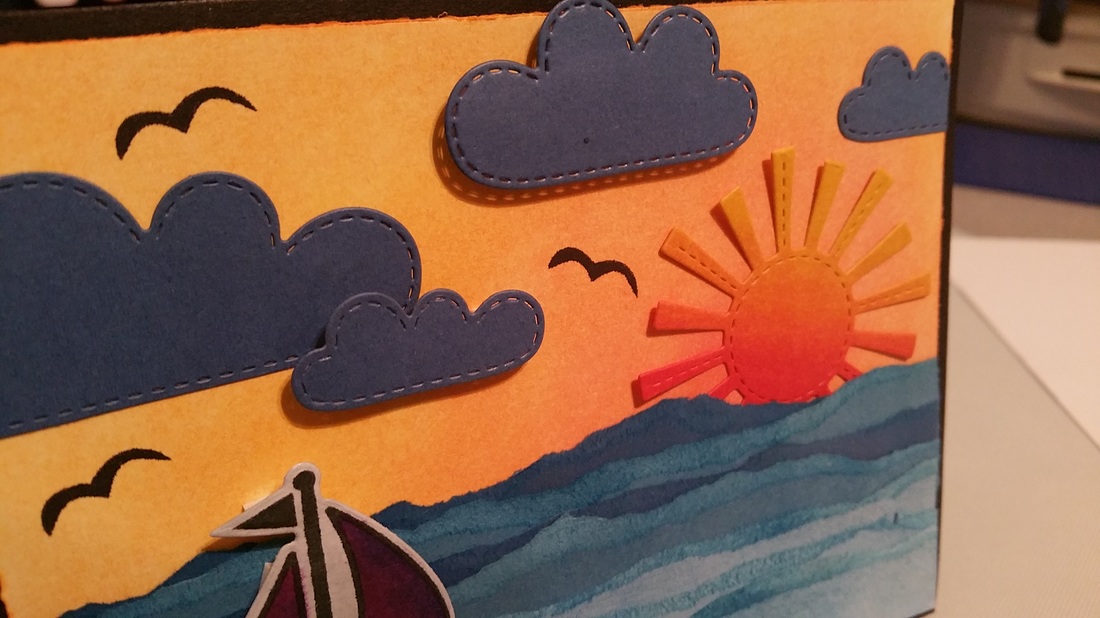
Next I started stamping. All the stamps came from Lawn Fawn. The frame from Sweater Weather, the sentiment, Halloween bag, and candy corn from the Spooktacular set, and the font is Violet's ABC's. After I stamped it all out, I colored the frame and shaded under the bag and candy corn, using my Spectrum Nior alcohol ink markers. Next I used my Sakura Glaze pens to color the Halloween bag and candy corn. Then all that was left was to put it all together. I love that these were so easy to make and quick as well. I filled them with some Halloween goodies and some candy, that I am sure the kids are going to love. Materials Used: Lawn Fawn: Sweater Weather, Spooktacular, & Violet's ABC's Stamp Sets We R Memory Keepers: Gift Bag Punch Board Stamps of Life: Pumpkin Twine, & Dotted Rectangle Dies Spectrum Noir Markers: OR1, OR2, GG1, Blender Pen Sakura: Glaze Pen in Yellow, Orange, and Clear Challenges Entered: Die Cuttin Divas As You See It Challenges Pause Dream Enjoy Lawn Fawnatics 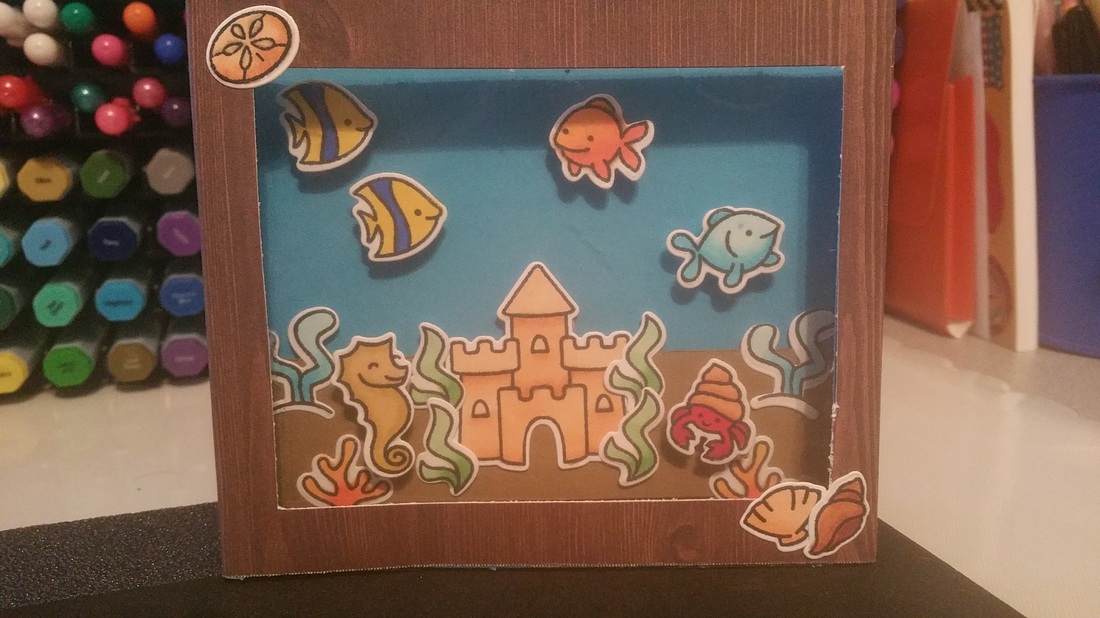 I LOVE this card so much. I wish I could take complete credit for this card, but I can't. I got the idea from someone else, a year ago (sorry, I can't remember which blog I found it on), but just now had the chance to blog about it. I used 3 different stamp sets from Lawn Fawn, some foam tape, a transparency sheet, Distress Inks, Spectrum Noir Markers, and cardstock to make this fantastic box card. To make the card, I used the same method that you would use to make a traditional box card. The difference is that I cut out the front of the box, replacing it with a transparency sheet, then used brown cardstock, to make the "middle insert" piece. Then it was as easy as stamping my little fish friends, coloring them, an setting the scene. To put the "box card" in an envelope, you just press it down, and it folds over, just like a traditional box card. I will admit, I tried to make an A2 size card at first, but all the pieces just didn't fit very well, so I increased the size. When flattened, this card fits in to a 5X7 envelope perfectly, though it does have a little bulk to it. You can see the thickness of the project, in the images below. I hope you enjoy and that this inspires you to create something fantastic!
 Blog Update: May 22, 2016
My "Best Fishes" box/aquarium card was chosen as a Party Pick on the PDE Linky Party Blog.
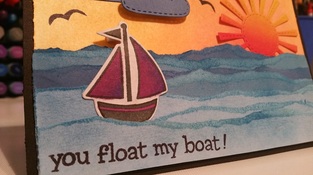 Materials Used: Lawn Fawn: Float my boat stamp & die set; Spring Showers die set Ink: Memento Tuxedo Black Spectrum Noir: PL3, LV3, IG4, CT4, CR8, DR4, Blender Chalks: Craft-T Productions Paper: Recollections Cardstock Challenges Entered: As You See It Challenges PDE Linky Party Dream Valley Challenges Aud Sentiments Challenge Blog Update - April 28, 2016
I hope you enjoy looking at our crafty goodness. Please leave us a comment to tell us what you think. My son, Dallas, especially likes to read the comments...so send him some love.
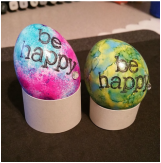
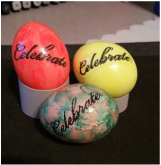
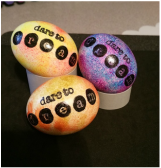
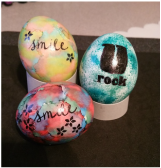
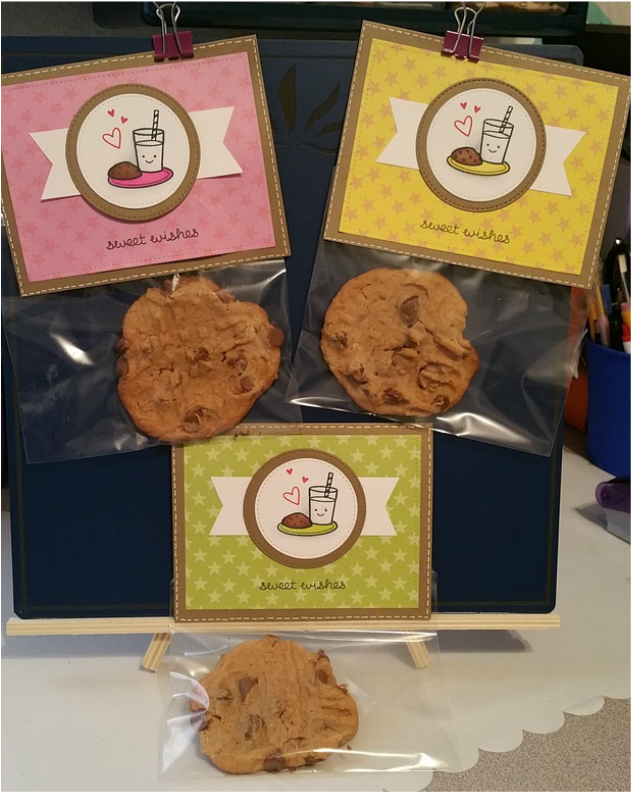
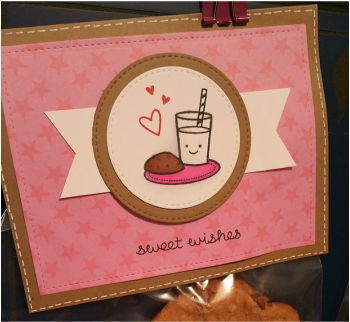
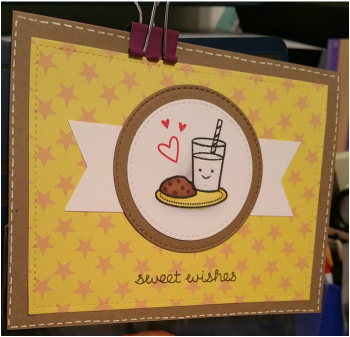
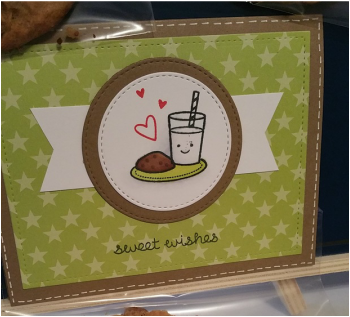
Materials Used: Lawn Fawn: Milk and Cookies Stamp Set, Stitched Circle Dies, Stitched Rectangle Dies Ink: Memento Tuxedo Black, Staz On Black, Stamps of Life Strawberry Ink Paper: Forever in Time, Perfect Prints (Stars & Fruit) 6X6 paper pad; Kraft Cardstock, white cardstock Other: Spectrum Noir Markers, Ranger Alcohol Inks, White Gelly Roll Pen, Clear Wink of Stella Pen, The stamp sets on the eggs were just a mixture of old stamps I had around my craft room, sorry I can't tell you the maker. Challenges Entered: If You Give a Crafter A Cookie Cute Card Thursday Cards 4 Galz 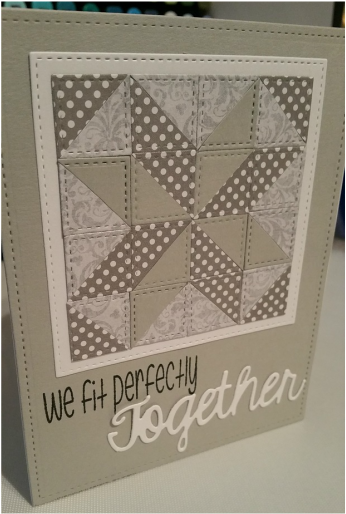 I got the inspiration for this card off of another site. I would link it here, but I can't remember which one it was. I knew when I saw this quilting technique that I had to try it. I started by cutting out small squares using my stitched squares dies from Lawn Fawn, then cut each square in half making smaller triangles. Next I arranged them in the quilt pattern. I found this one online just by googling "quilt patterns" Next, I cut out a square big enough to fit my quilted pattern on, and glued all the pieces down in the correct order. I matted the quilt on another stitched square and then again on the bigger grey, stitched rectangle. The stamped image and the "Together" die cut are both from the Stamps of Life, and I thought they were fantastic and a perfect fit for this card.
Materials Used: Lawn Fawn - Stitched Squares and Rectangle Dies Stamps of Life - Puzzle Sayings Stamp Set and "Together" word die (I believe this was from the Feb. 2016 Card Kit), Black ink, Grey and white cardstock Paper - Scraps from my stash Challenges Entered: Craftyhazelnut's Pattern Paper Challenge PDE Linky Party Sisters of Craft Dream Valley Challenges |
 
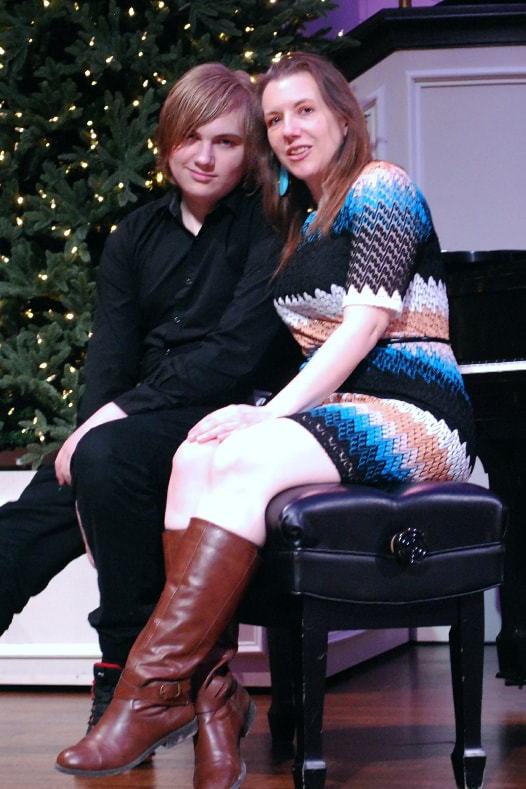
JoNeita & Dallas - Dec. 2021
About MeMy name is JoNeita Kelly and I have been crafting for at least the last 20 years. I live in Forney, Texas with my son, Dallas. I am a High School teacher and Cheerleading Coach. I love to craft and to continue to improve my photography and editing skills whenever I have free time. What I love most is telling our story using pictures, it is the most important gift I can leave my family. 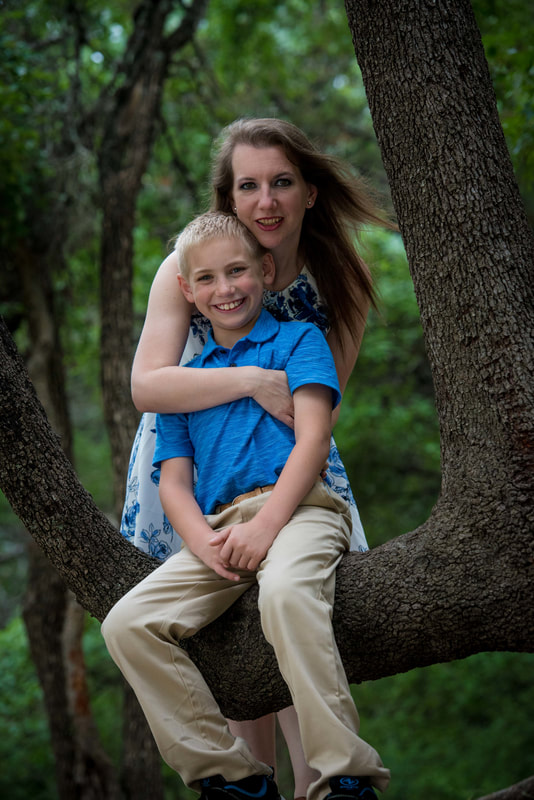
Photo by Steven Mackie Photography.
Categories
All
Archives
December 2021


Former Design Team Member for Fantabulous Cricut Challenge Blog
 |


 RSS Feed
