
It's the Simple Things
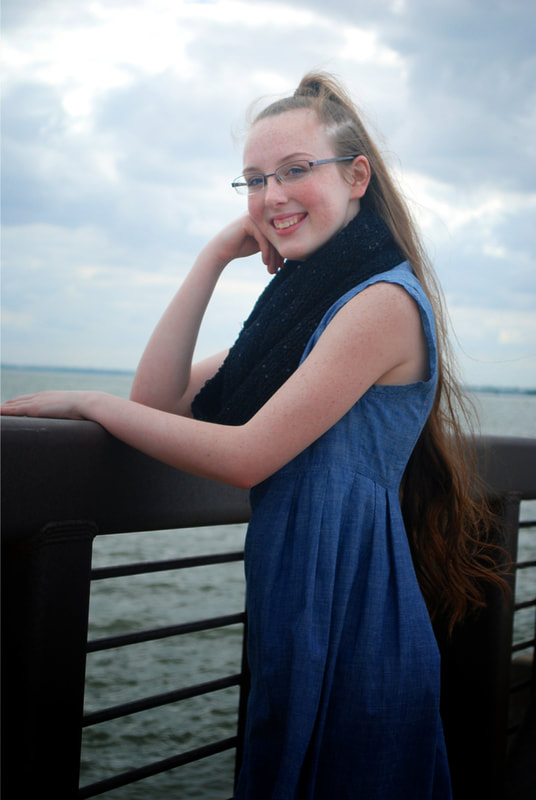
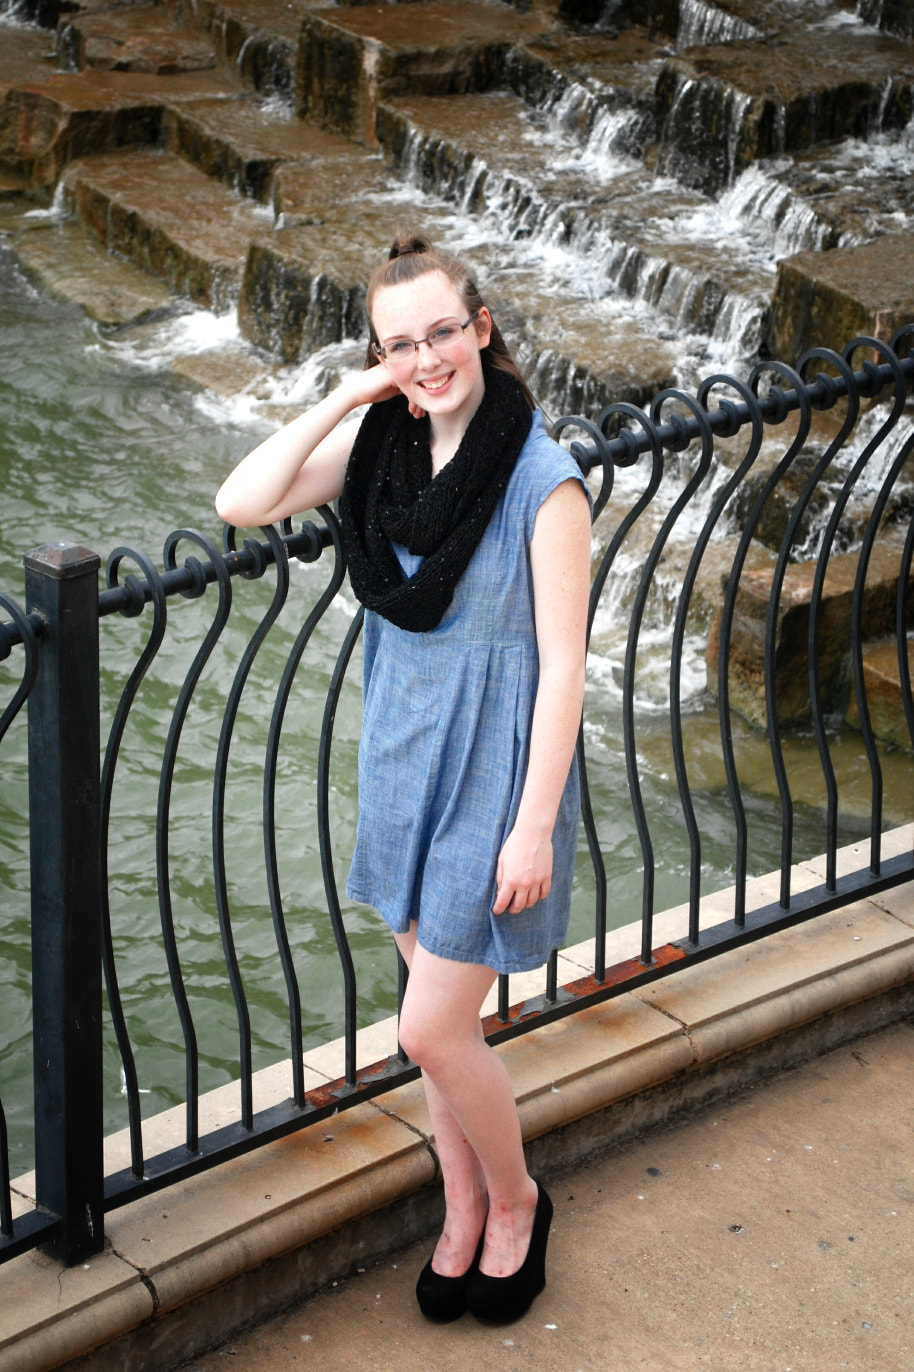
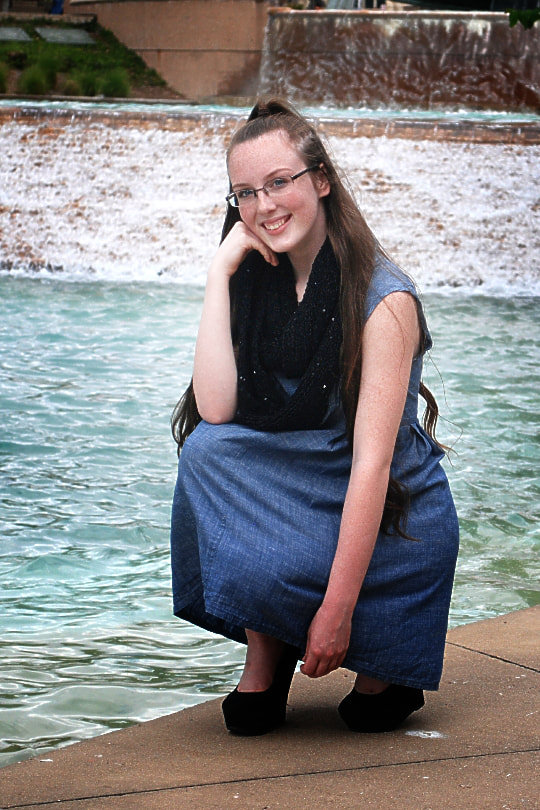
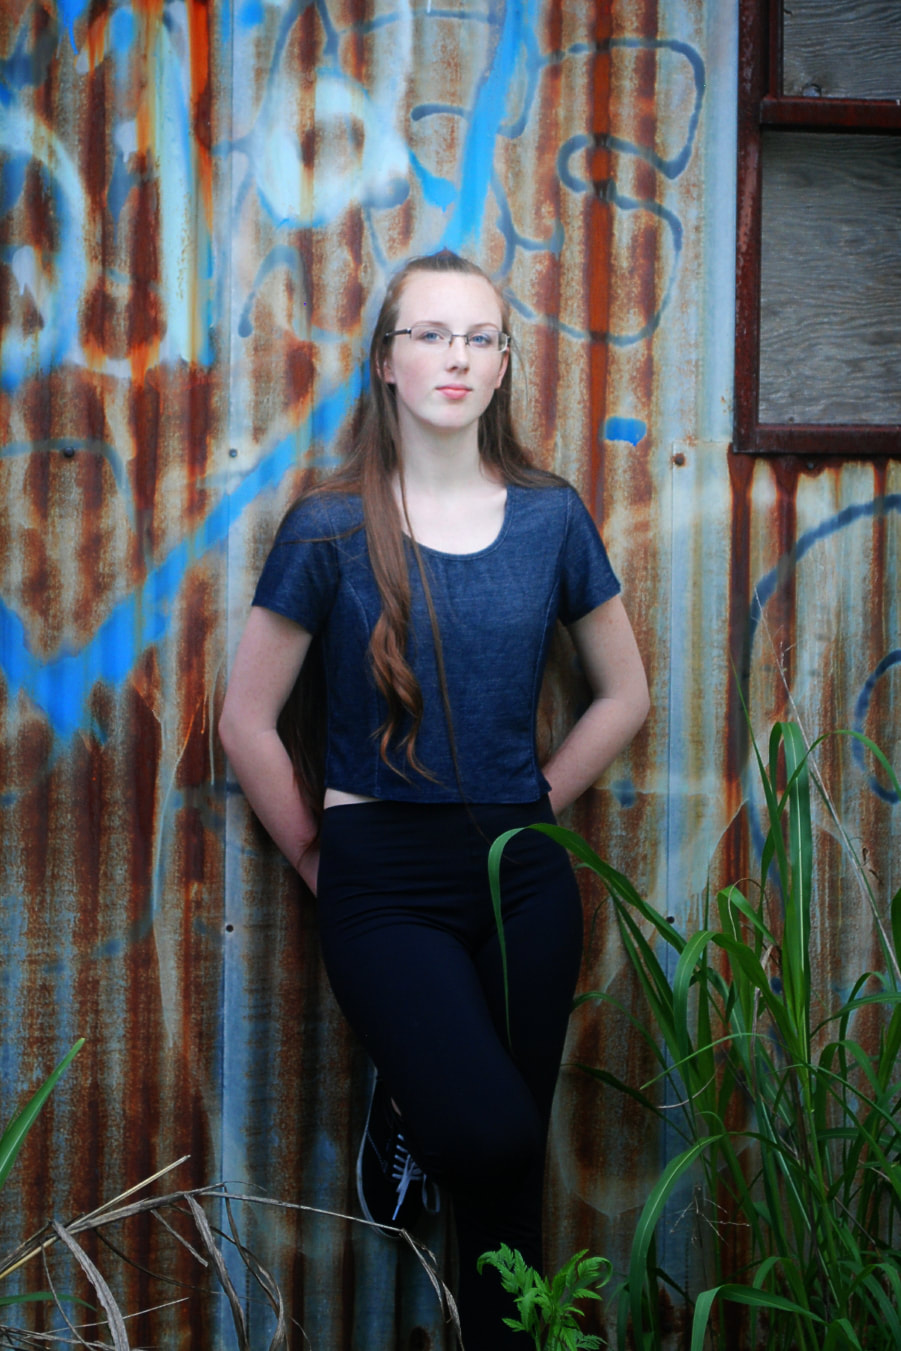
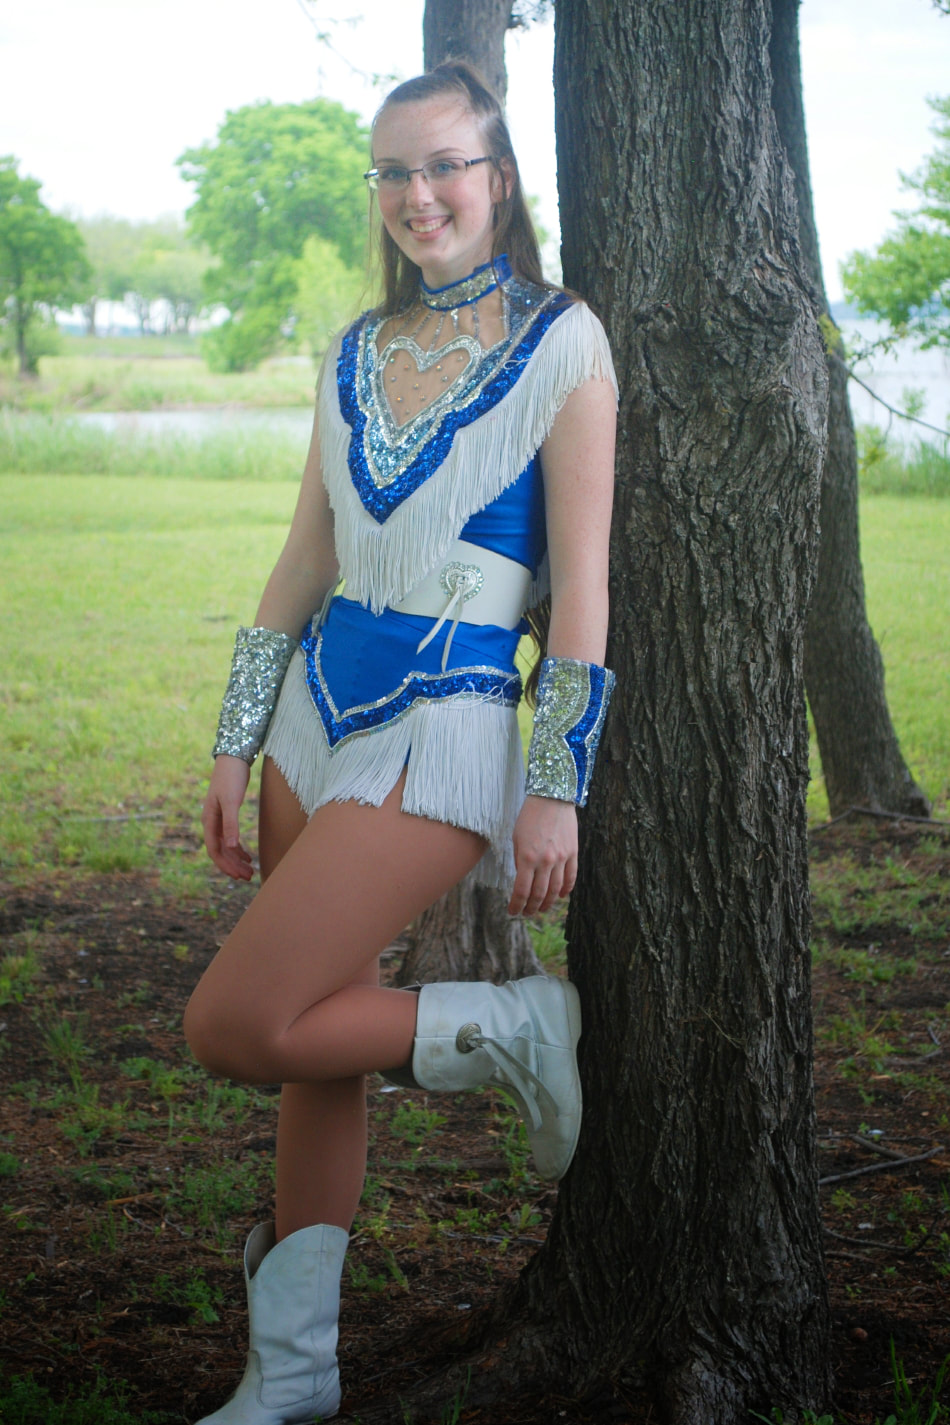
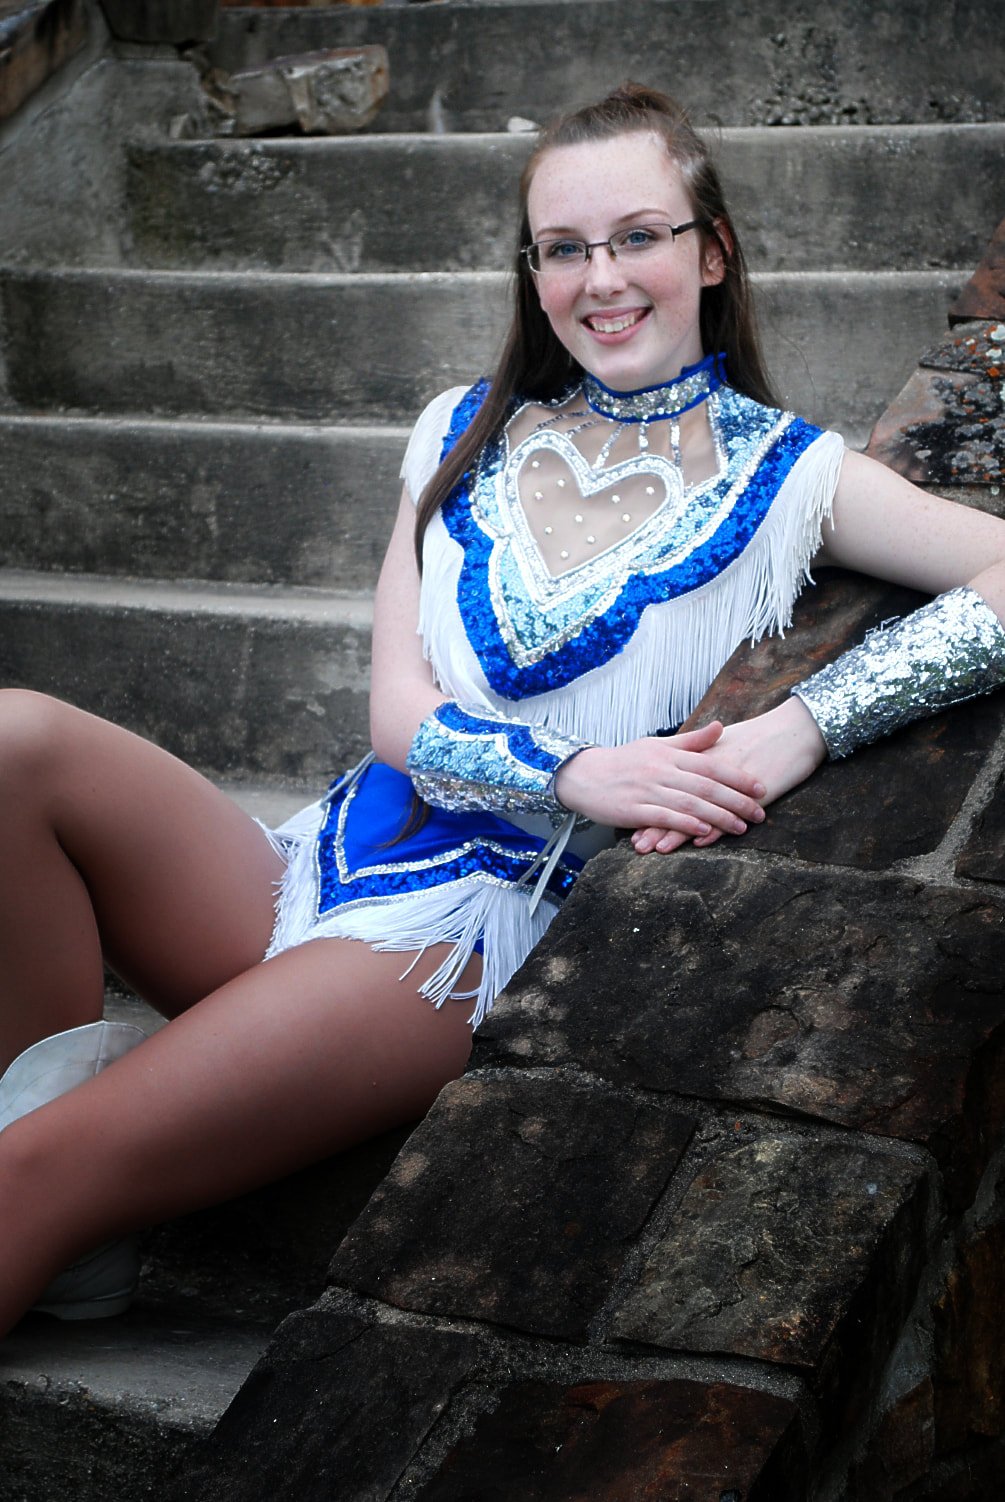
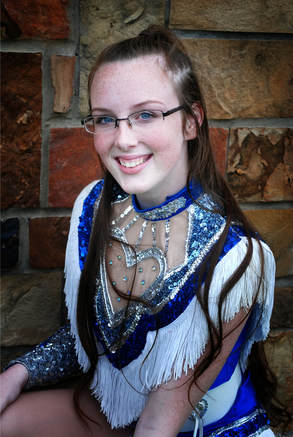 Mollie is my baby cousin, not that she is a baby anymore. It's quite the opposite actually. She is a JR in high school now and to be very honest the smartest person in our entire family. I like to joke that I am the most successful person my family, but I'm afraid that I am going to have to pass that title over once she gets finished with High School and College. To say the least, I am very proud of this young lady, and I can not wait to see where she goes in life. Mollie asked me to take some pictures of her in her drill team uniform way back in April, which I was happy to do. It took me a long time to get them all edited for her and even longer to actually post them, but here you go. I finally got it done. I think the pictures turned out beautiful.

0 Comments
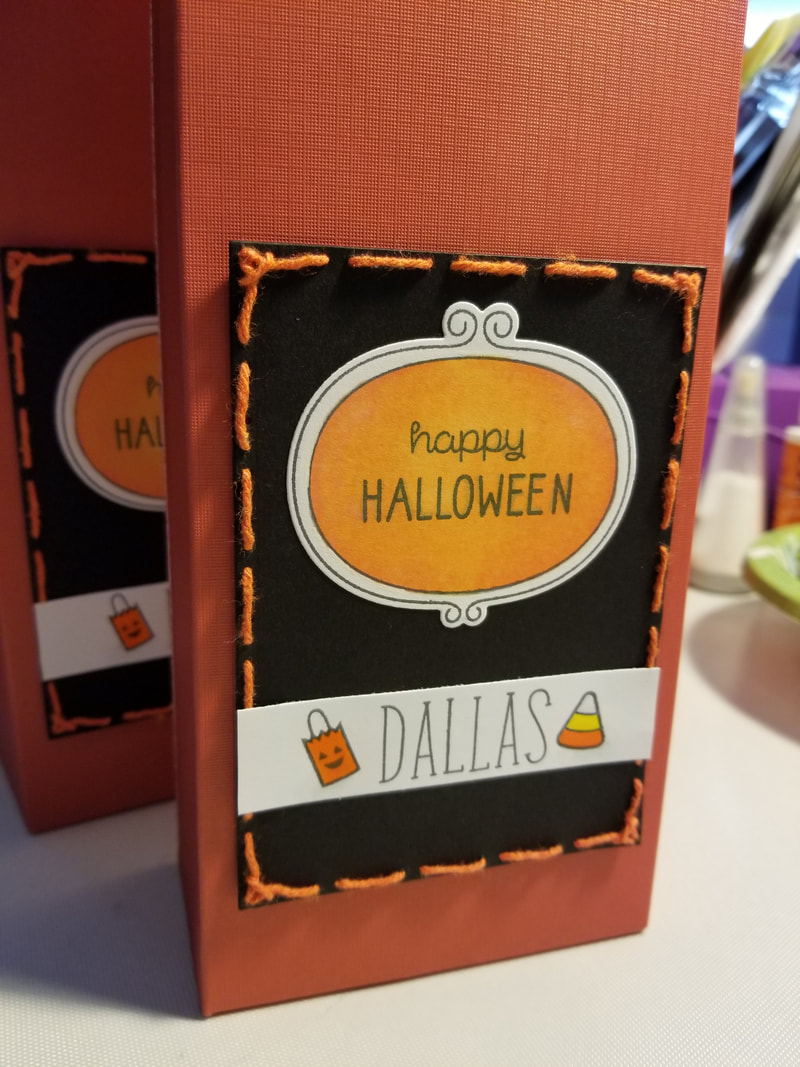
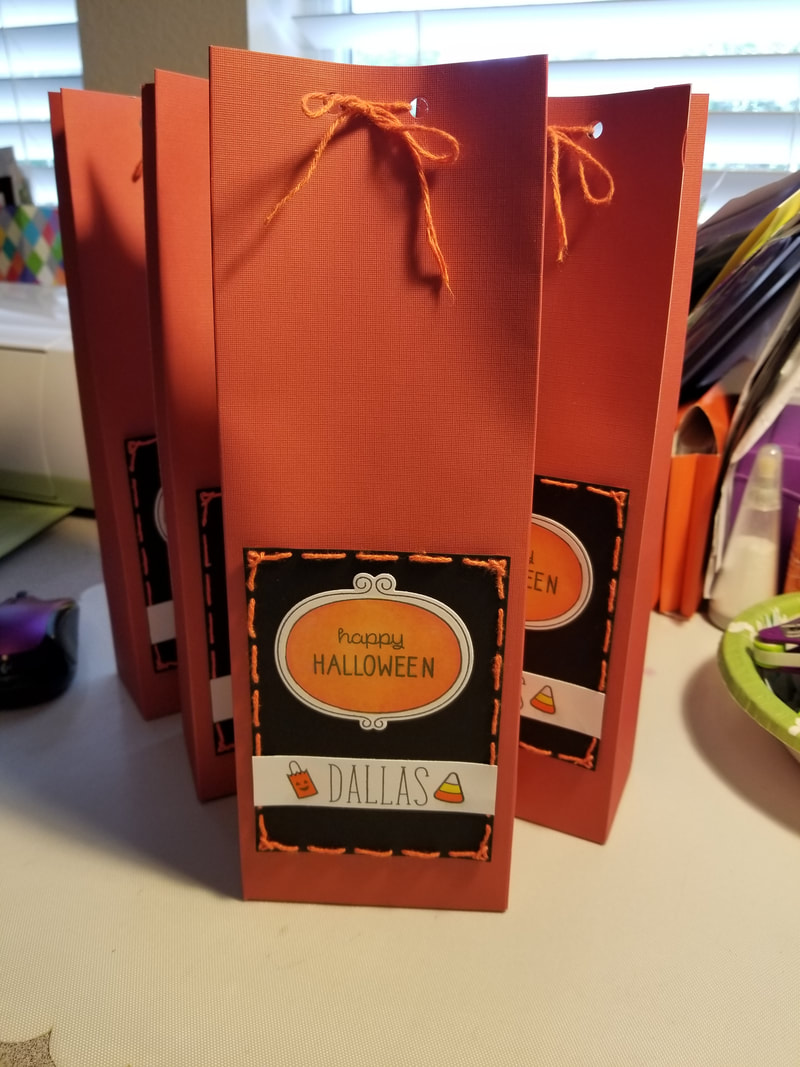
Each year, I make Halloween treat bags for my son and a few of his friends. I like giving gifts and Halloween is just another reason and way for me to spoil my son and the neighborhood kids that I love so much. This year, I have been a little short on time, but that is no excuse. I still found time to make clean and simple treat bags, which took me about an hour from start to finish to complete.
I made the bags using my We R Memory Keepers Gift Bag Punch Board. I start with a full sheet of 12 X 12 cardstock, which gives me a large, tall bag. Next I cut the black base for the front design using the Sizzix Dotted Rectangle dies. I got them from the Stamps of Life website, and I love them because it cuts out the rectangle with a series of small holes along the edges. I then used some Pumpkin twine from the Stamps of Life to sew around the edges, to give it a little more detail. The sewing is the part that took the longest, but was really easy since the holes were already punched.
Next I started stamping. All the stamps came from Lawn Fawn. The frame from Sweater Weather, the sentiment, Halloween bag, and candy corn from the Spooktacular set, and the font is Violet's ABC's. After I stamped it all out, I colored the frame and shaded under the bag and candy corn, using my Spectrum Nior alcohol ink markers. Next I used my Sakura Glaze pens to color the Halloween bag and candy corn. Then all that was left was to put it all together. I love that these were so easy to make and quick as well. I filled them with some Halloween goodies and some candy, that I am sure the kids are going to love. Materials Used: Lawn Fawn: Sweater Weather, Spooktacular, & Violet's ABC's Stamp Sets We R Memory Keepers: Gift Bag Punch Board Stamps of Life: Pumpkin Twine, & Dotted Rectangle Dies Spectrum Noir Markers: OR1, OR2, GG1, Blender Pen Sakura: Glaze Pen in Yellow, Orange, and Clear Challenges Entered: Die Cuttin Divas As You See It Challenges Pause Dream Enjoy Lawn Fawnatics  This past year, I have had a lot of fun creating door wreaths for my front door. I have never lived in a neighborhood where I wanted to decorate my front porch like I do at our house in Cedar Park. This style of wreath is one of the easiest I have ever made; anyone can do it.
Materials Used: 4 large rolls of ribbon (Black sparkle) Embellishments, these are from Michaels (Boo, spiders, orange glitter sticks, pumpkin) 12 in Embroidery hoop To make this:
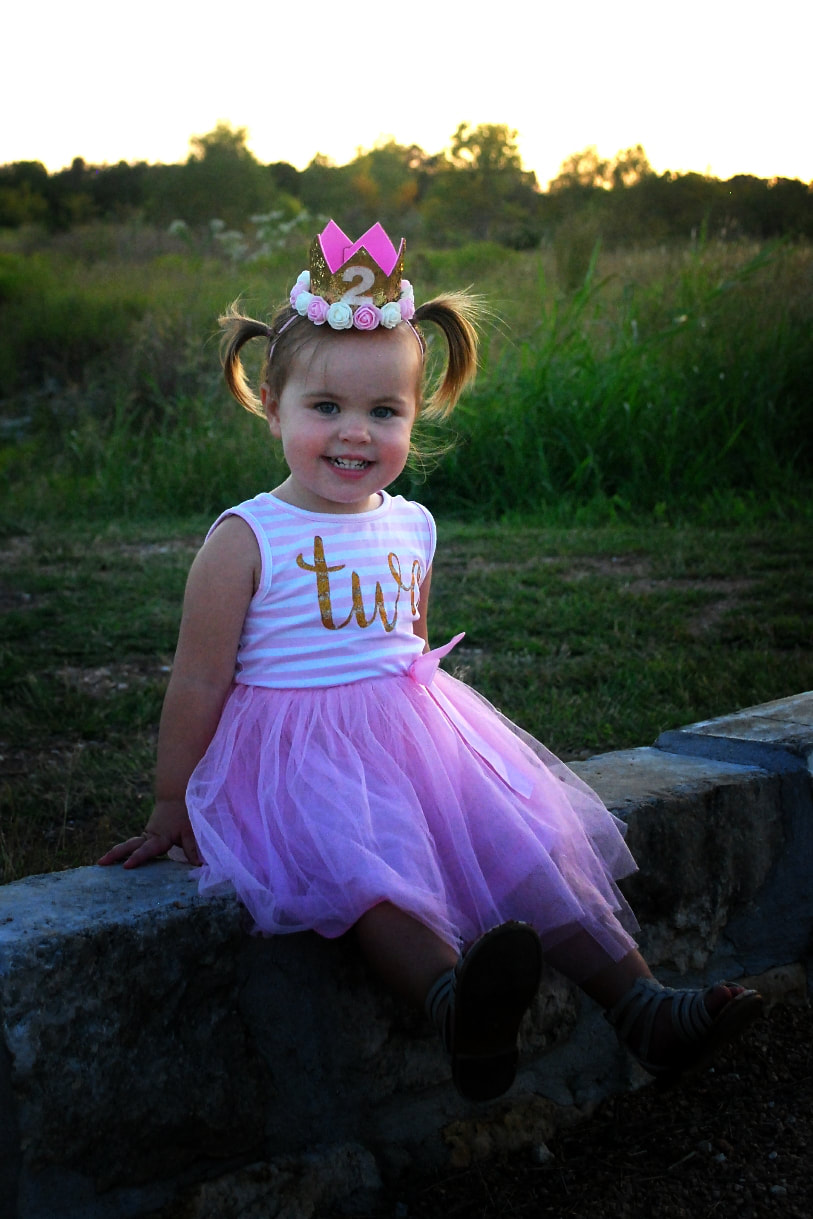
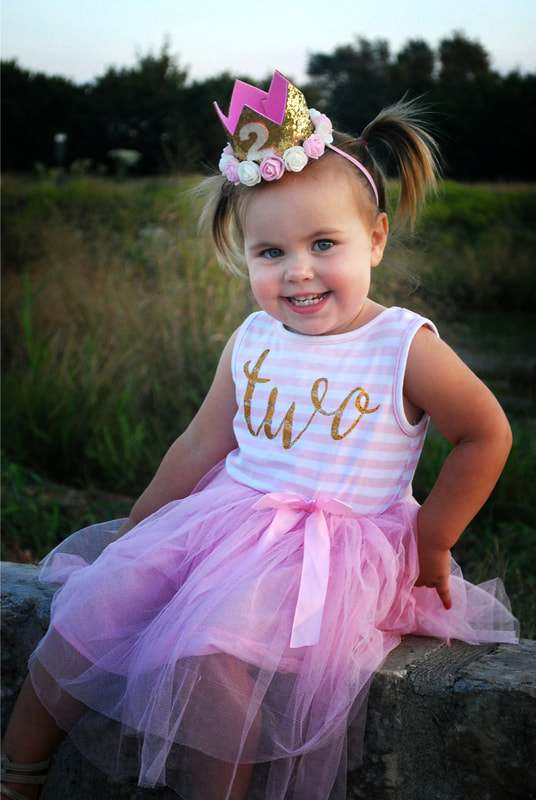
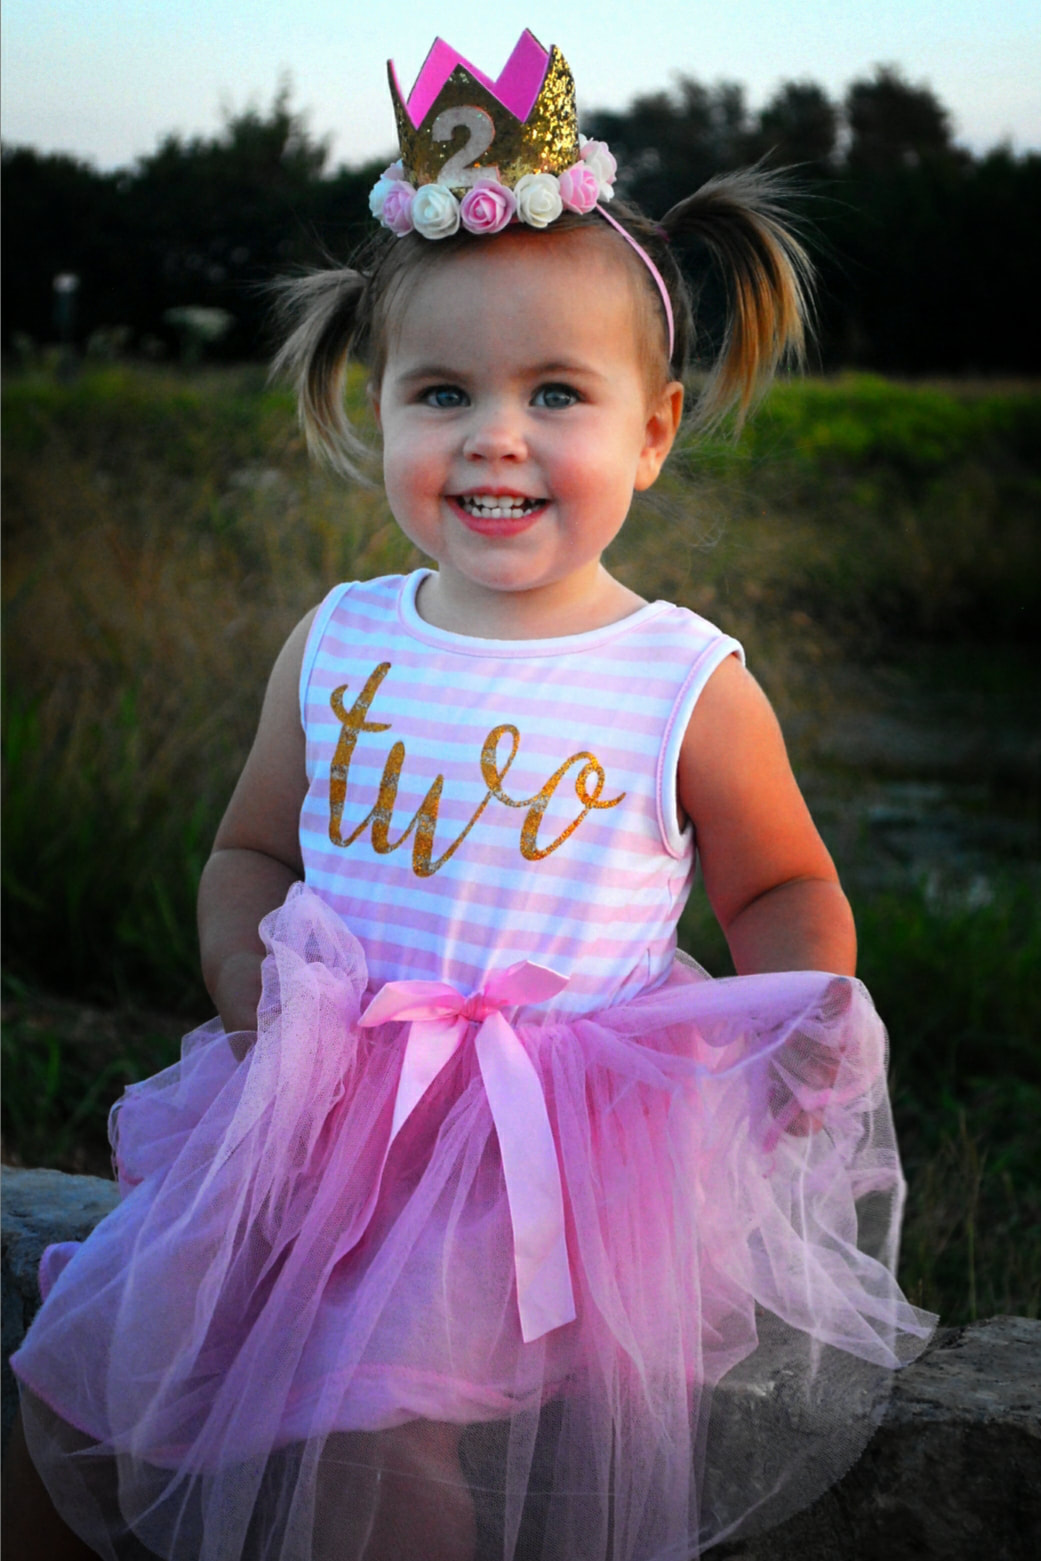
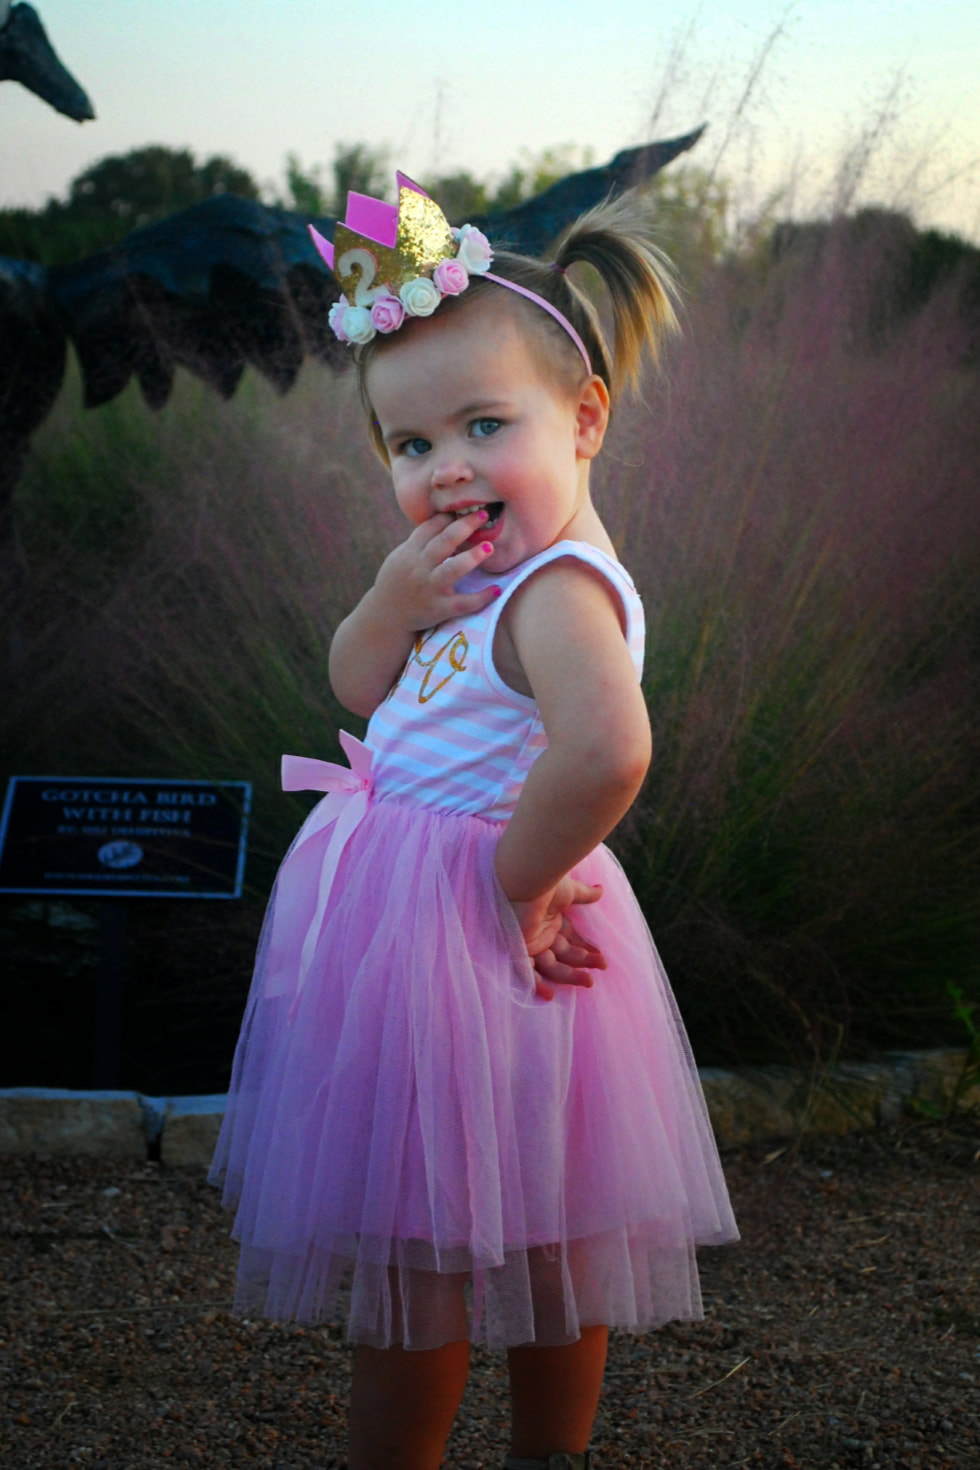
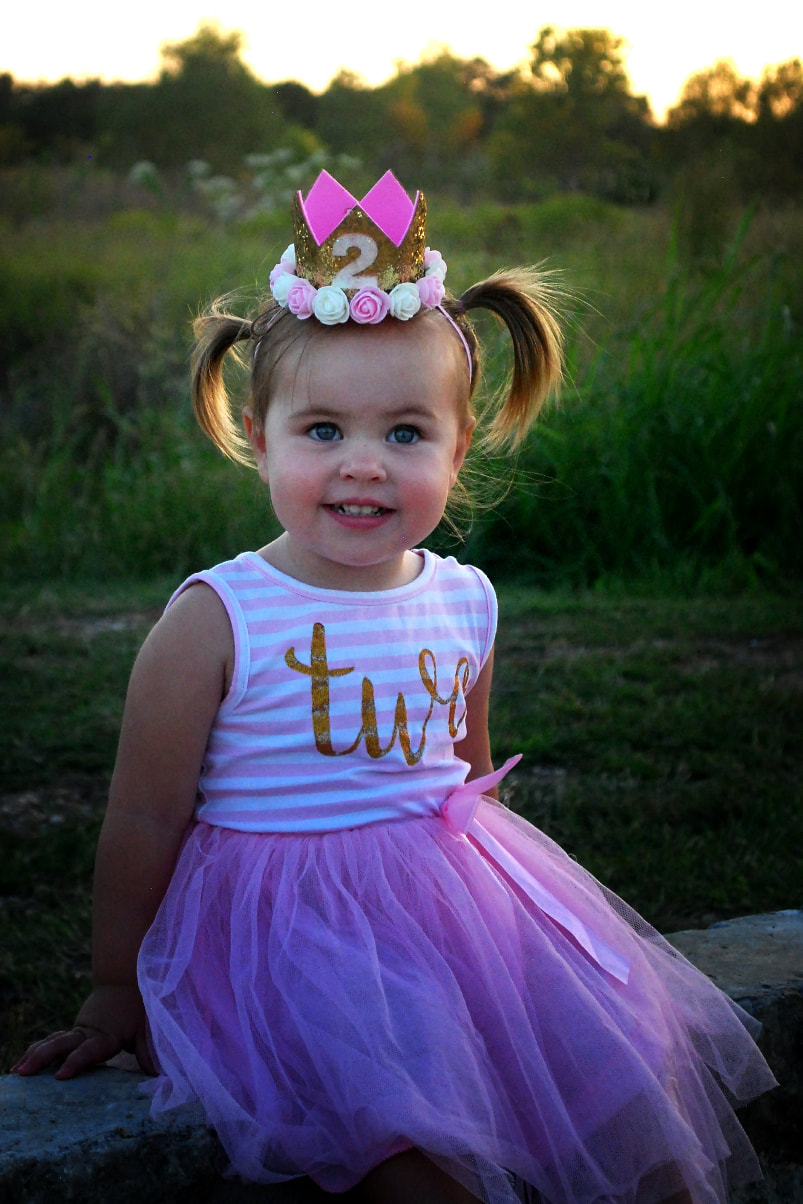
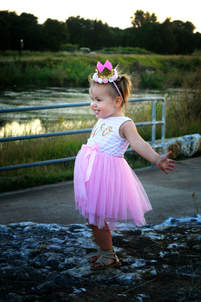
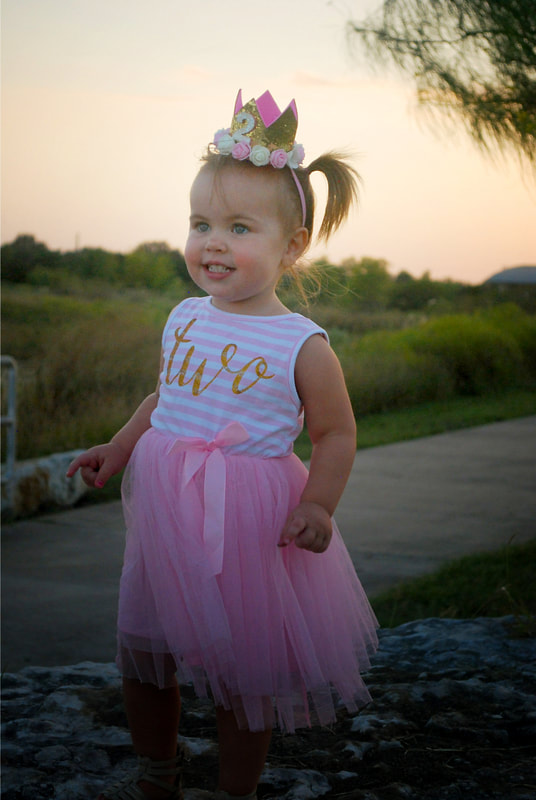
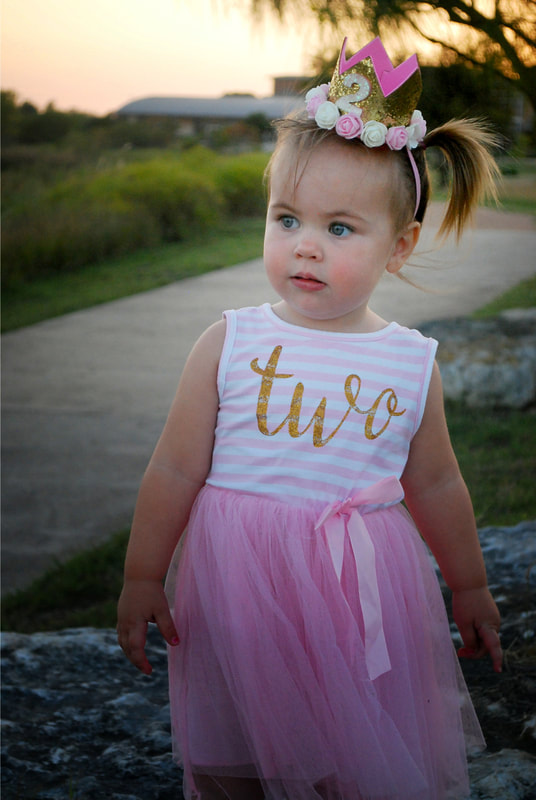
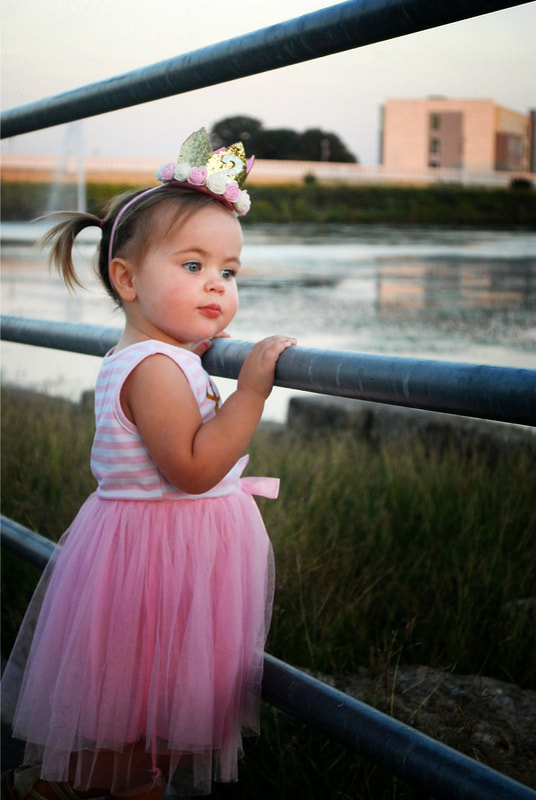
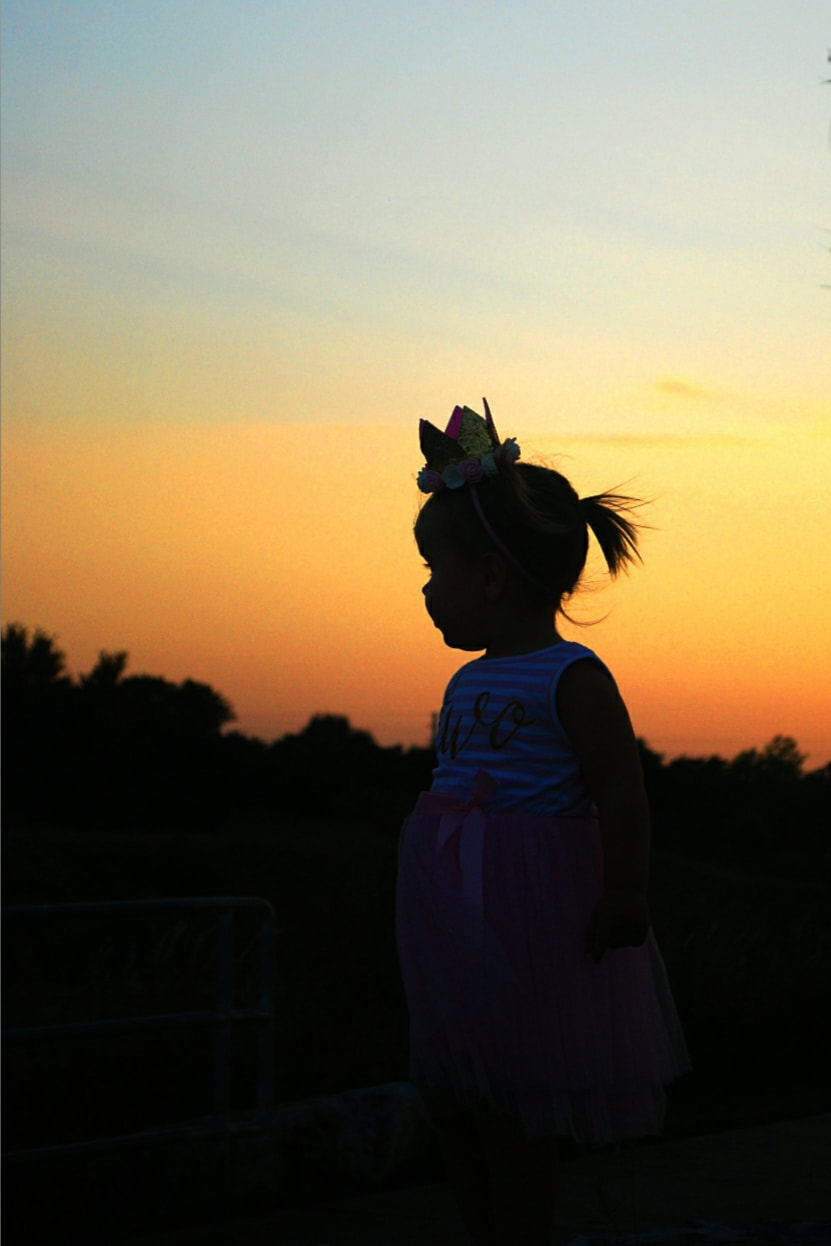
 When Dallas and I moved to Cedar Park, we were lucky enough to move into a neighborhood that we love. We were also lucky enough to meet a really great family that lives a couple of houses down. Their oldest son and my son became fast friends, and I am so grateful to say that I found a great friend in Lindsey. She even allows me to play with their little girl, Emme, who is the sweetest little girl ever. In the past couple of weeks, she has started to say "Hi Jo" when I walk in to the room, and my heart melts. So, when Lindsey asked if I would take some pictures of Emme, I jumped on the chance to try and catch some of her personality and sparkle in her two year old pictures. I think they turned out really well and I am really happy at how great they are. It's easy to take pictures of someone so beautiful and cheerful. Enjoy!
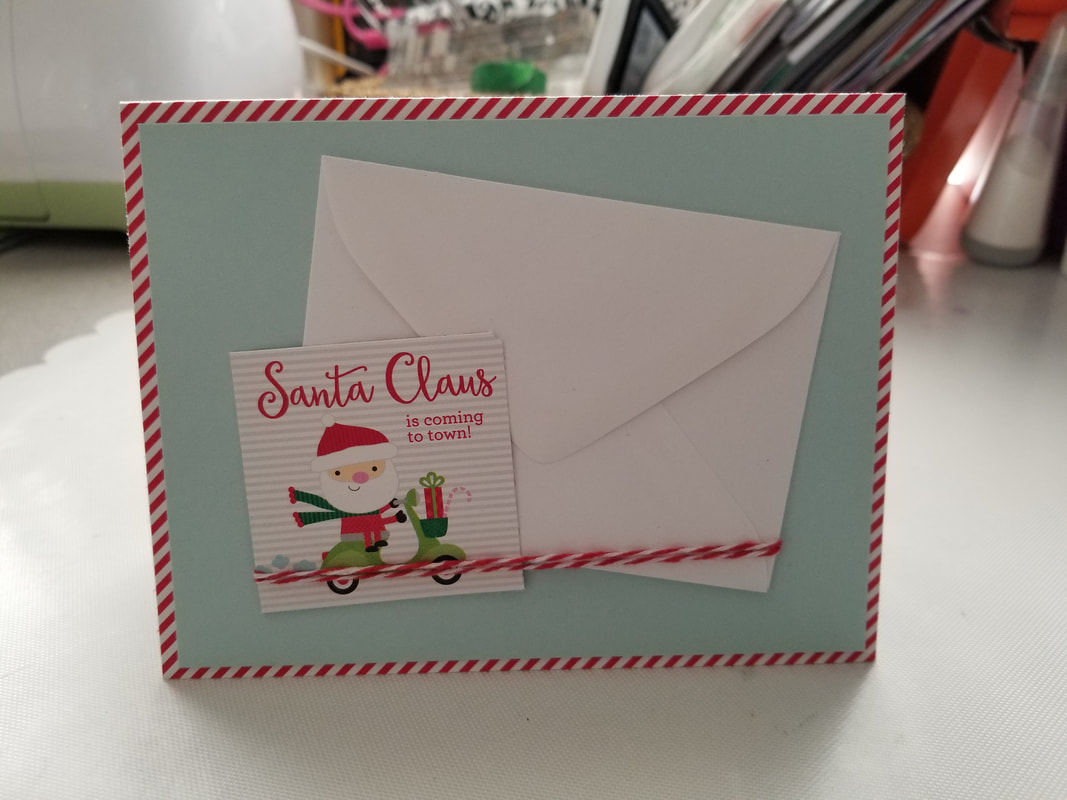
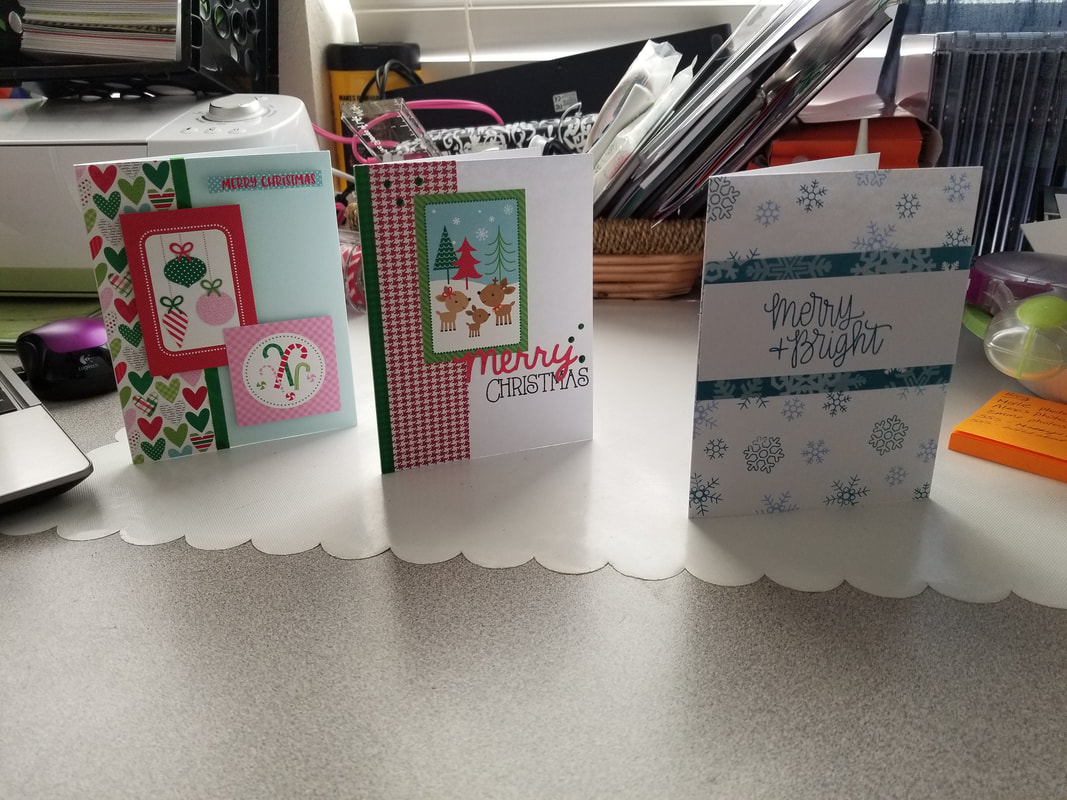
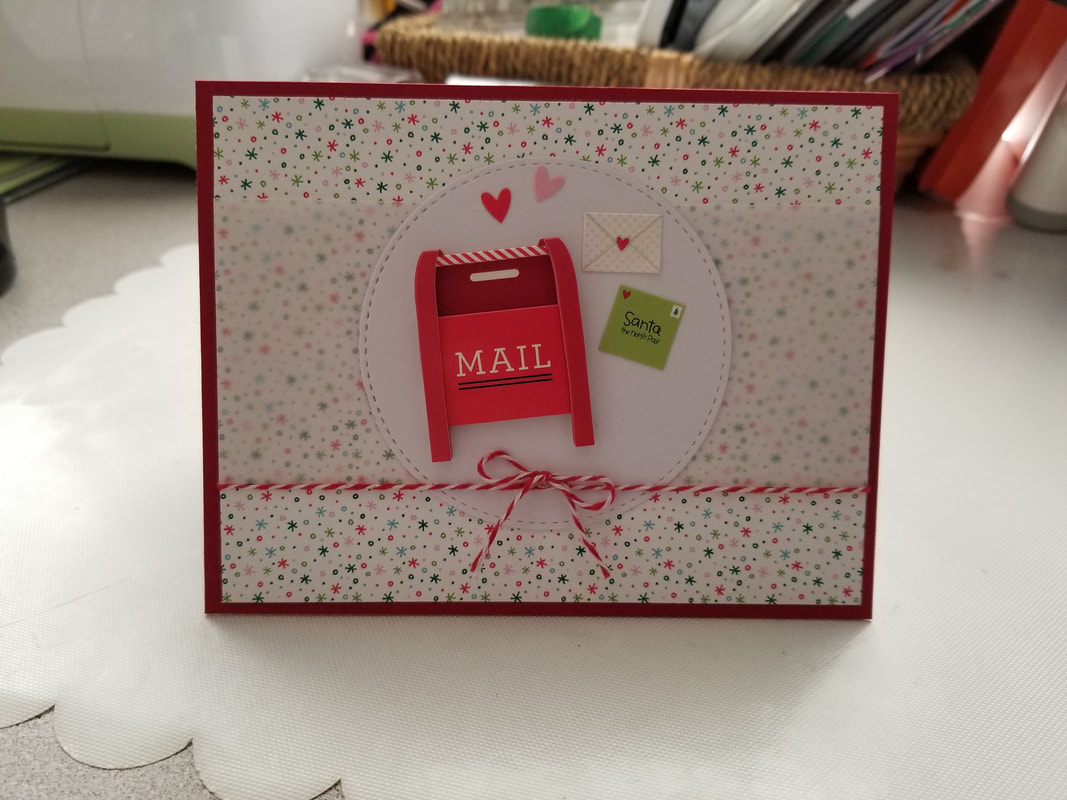
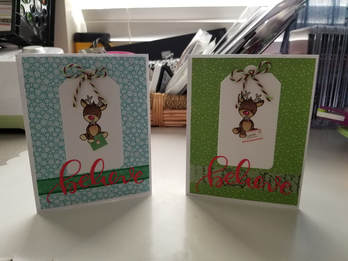
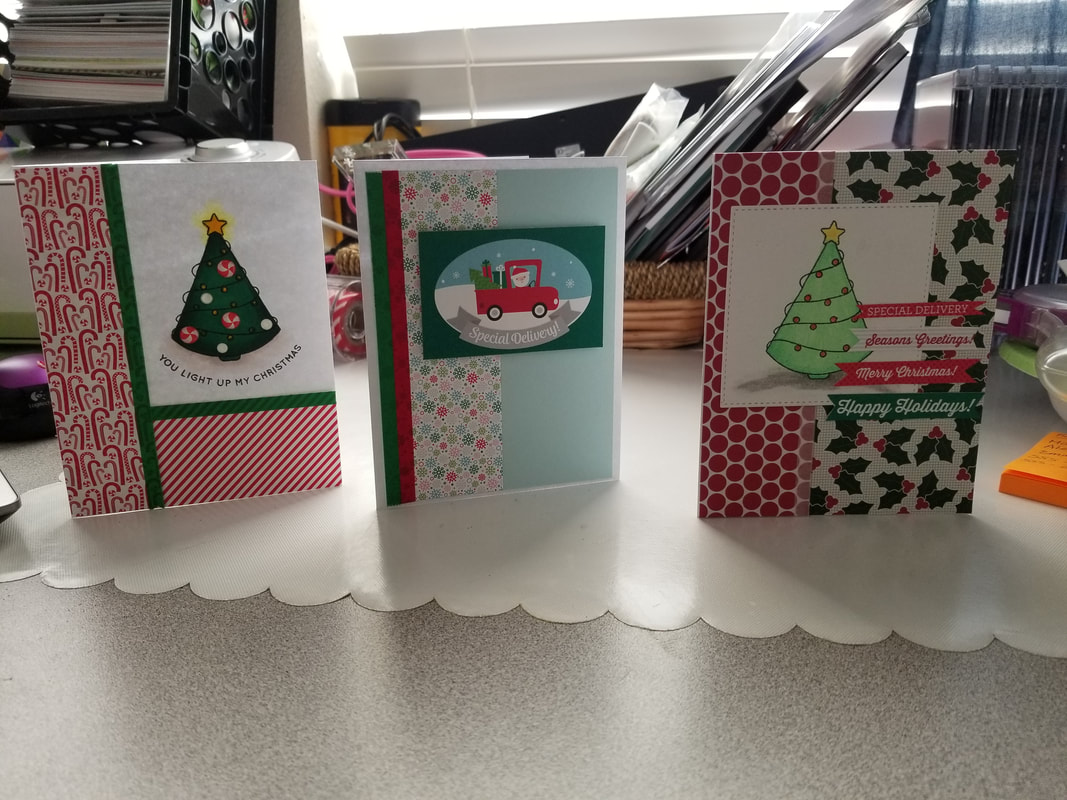
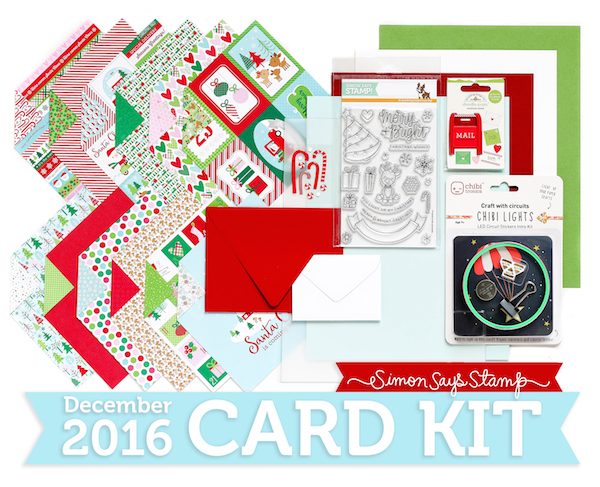
It's that time of the year, no not Halloween. It's time to start making my Christmas Cards. I have a huge family and it takes me a while to make enough to be able to give one to each part of my family and still have enough left over to give out to friends as well. On average, I make 60 Christmas cards each year, so I typically start in September or October to give myself time to get them all finished. This year, I was having trouble finding inspiration and didn't like any of the 1st cards that I made, then I remembered that I had the Simon Says Stamp Merry and Bright (December 2016 release) card kit, which I received last year after I had finished making all my cards. This was a great opportunity to use it, so I got it out and immediately got to work. I love that Simon includes a page of examples and inspiration. I was drawn to 2 of the cards right away and decided to scraplift them. Once I made a few cards, I couldn't stop. I made 13 cards from this kit, and still have material leftover to make more.
|
 
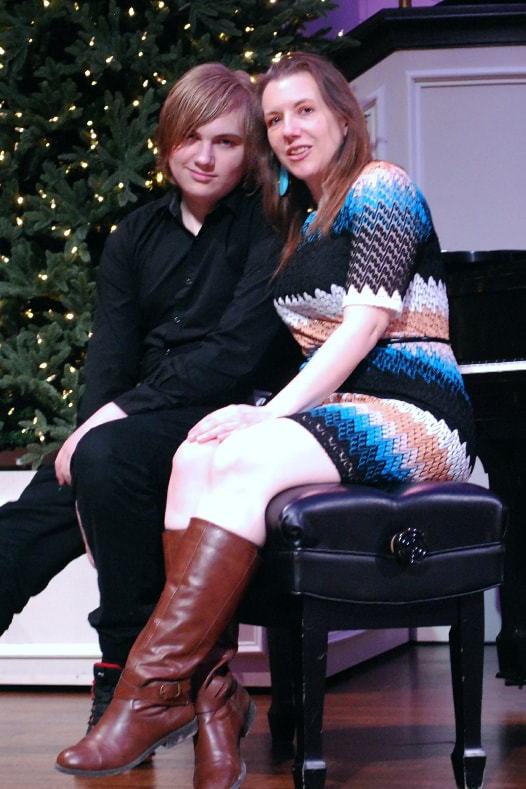
JoNeita & Dallas - Dec. 2021
About MeMy name is JoNeita Kelly and I have been crafting for at least the last 20 years. I live in Forney, Texas with my son, Dallas. I am a High School teacher and Cheerleading Coach. I love to craft and to continue to improve my photography and editing skills whenever I have free time. What I love most is telling our story using pictures, it is the most important gift I can leave my family. 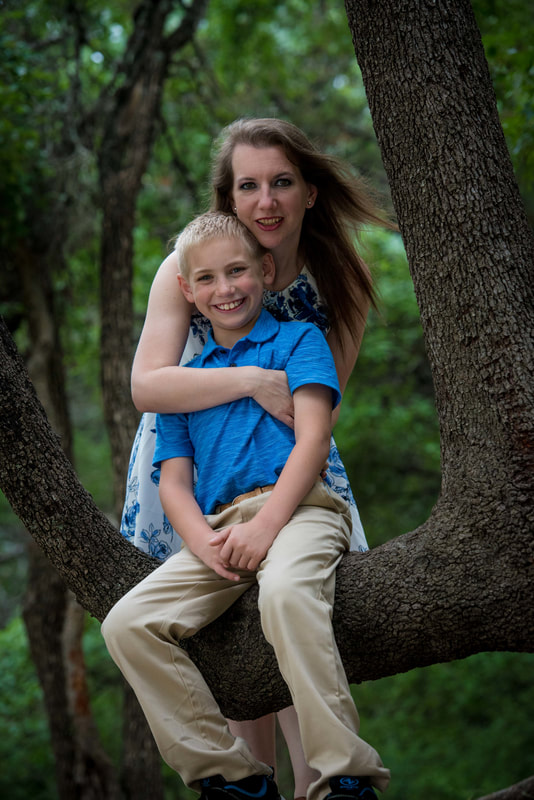
Photo by Steven Mackie Photography.
Categories
All
Archives
December 2021


Former Design Team Member for Fantabulous Cricut Challenge Blog
 |


 RSS Feed
